
How To Seal A Stamped Concrete Pool Deck
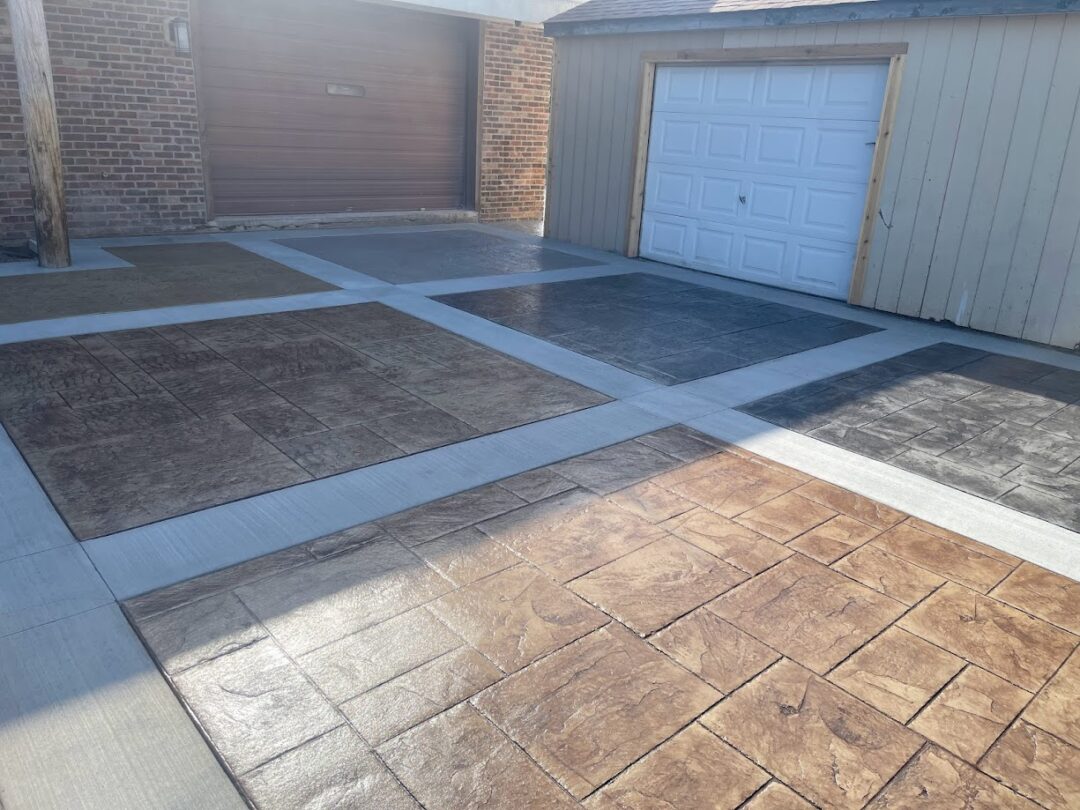
How do I keep my stamped concrete looking vibrant and clean all year round? That’s a great question! Stamped concrete is a great choice for pool decks because of its decorative appearance and durability. However, if you want your concrete pool deck to stay vibrant, clean, and protected from wear, UV rays, and moisture, sealing it is a must.
Learning how to seal stamped concrete properly can significantly extend the life and beauty of your investment.
At Royal Pools G2 Landscaping, we’ve sealed hundreds of stamped concrete pool decks. The only thing we love more than transforming a backyard is educating homeowners on how things are done. We’re here to walk you through the process step-by-step.
Why Use a Concrete Sealer?
Applying a concrete sealer helps lock in color, adds a glossy finish, and forms a protective barrier against pool chemicals, water, and harsh weather. To maintain this protection, it’s important to reseal your pool deck every 3–5 years.
Step-by-Step Guide: How to Seal Stamped Concrete
Step 1: Choose the Right Time of Day
Timing is everything when sealing stamped concrete. Perform the job during the cooler parts of the day, such as early morning or late afternoon. High temperatures can cause the sealer to bubble or dry unevenly. Never apply sealer in direct midday sun or on a hot surface.
Step 2: Clean the Pool Deck
Before applying sealer, make sure your pool deck is completely clean. Sweep or blow off all dirt, debris, leaves, pool toys, etc. If necessary, use a pressure washer to remove any tough grime or stains. The cleaner the surface, the better the sealer will bond with the stamped concrete.
Step 3: Prepare the Sealer Mixture
In a 5-gallon bucket, mix your sealer with Xylene. For the initial sealing, use a ratio of 1 gallon of Xylene to 5 gallons of sealer. When resealing in future years, increase the Xylene to 2 gallons per 5-gallon mix. This helps thin the sealer for smoother application.
To add slip resistance to your pool deck, mix in 1/3 quart of SharkGrip or another anti-slip additive per 5 gallons of sealer. Stir the solution thoroughly to ensure an even blend.
Step 4: Seal the Edges First
Using a small brush or roller, apply the sealer around the edges of the pool deck. This step ensures that the sealer doesn’t pool in low areas or near expansion joints. Edging first also allows for more precise coverage and a neater final appearance.
Step 5: Apply the Concrete Sealer
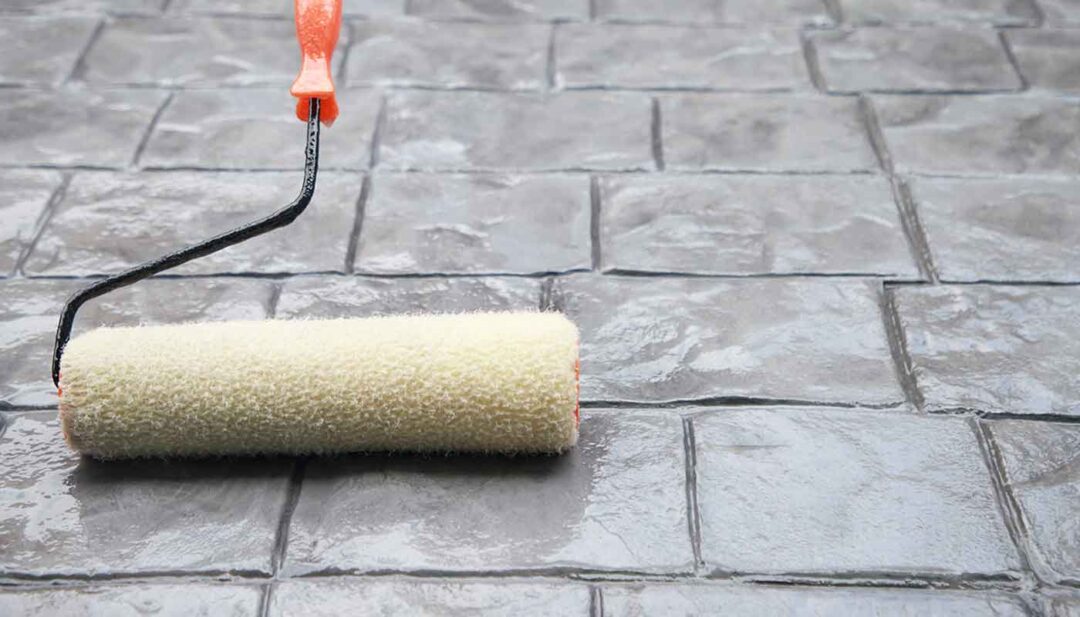
Once the edges are done, use a medium to long nap roller to apply sealer to the rest of the stamped concrete surface. Work in small sections and apply thin, even coats. Be careful not to overapply, as it can create puddles or streaks. Aim for thin, even coats that will dry smoothly.
Let the sealer dry for 24 to 48 hours, depending on product instructions and weather conditions. Wait until the deck has fully cured before walking on or placing any furniture on it.
Final Thoughts
Sealing your stamped concrete pool deck is the easiest way to protect your investment and enhance its appearance. A high-quality concrete sealer enhances the look of your deck, extends its lifespan, and keeps it safe for swimmers by reducing slipperiness when additives are included.
By learning how to seal stamped concrete around an inground swimming pool, you can protect your pool area and keep it beautiful for years to come.
For expert guidance, product recommendations, or sealing services, contact Royal Pools G2 Landscaping or visit our learning hub for more tips on pools and landscaping.
Top 3 Stamped Concrete Designs of 2025
Top 5 Challenges of Standard Concrete
Concrete Cracking and Failure Explained
Written by Logan Edgemon